
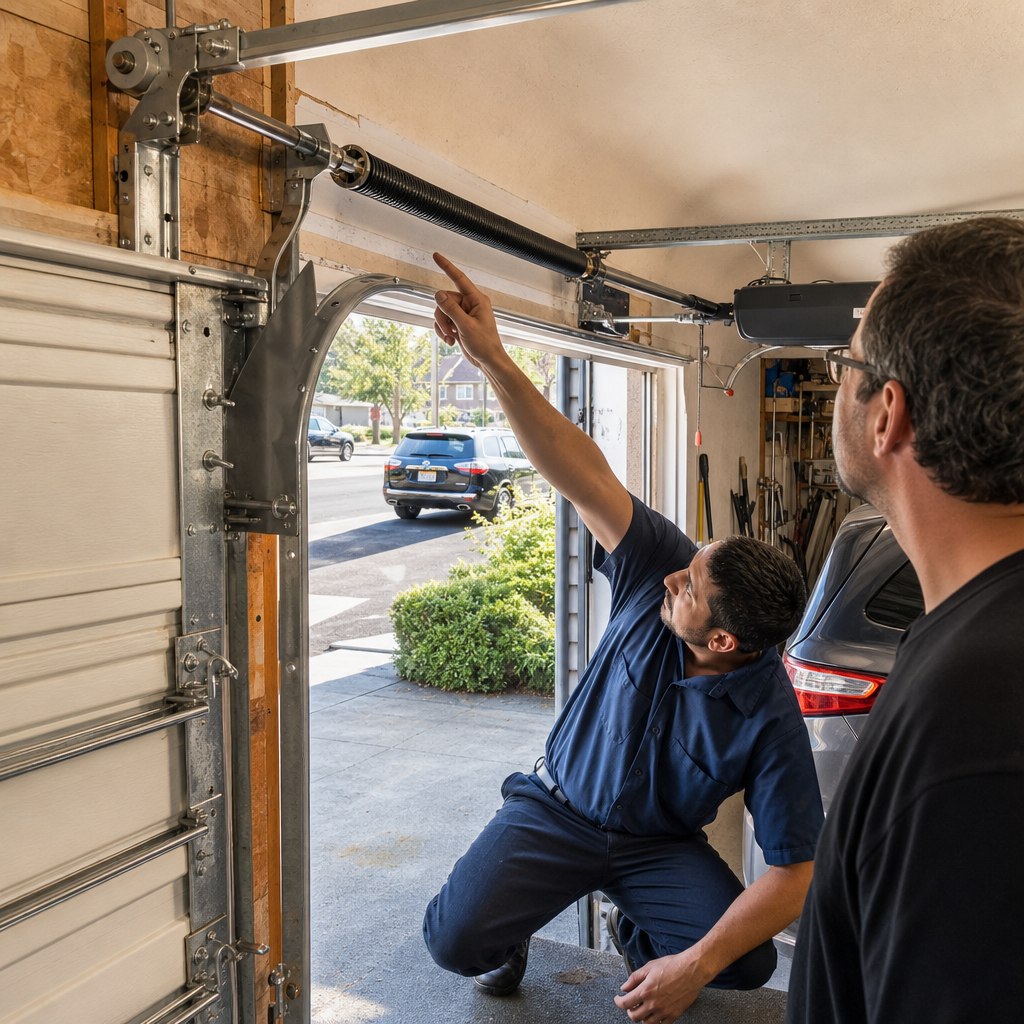
How to Program a Garage Door Opener in Yonkers, NY — Brand-by-Brand Steps That Actually Work
Programming a Garage Door Opener requires pressing the “Learn” button on the motor unit, then pressing the remote button within 30 seconds — but the exact button location, color, and sequence vary completely by brand, and using the wrong guide is why most Yonkers homeowners end up calling us. In the dense attached homes of southwest Yonkers, radio interference from neighboring Wi-Fi routers and metal-framed construction adds a second layer of failure that generic tutorials never mention. If you’ve tried twice and the remote still won’t pair, hold it within 6 inches of the motor head during programming — distance is the most common fix in our market.
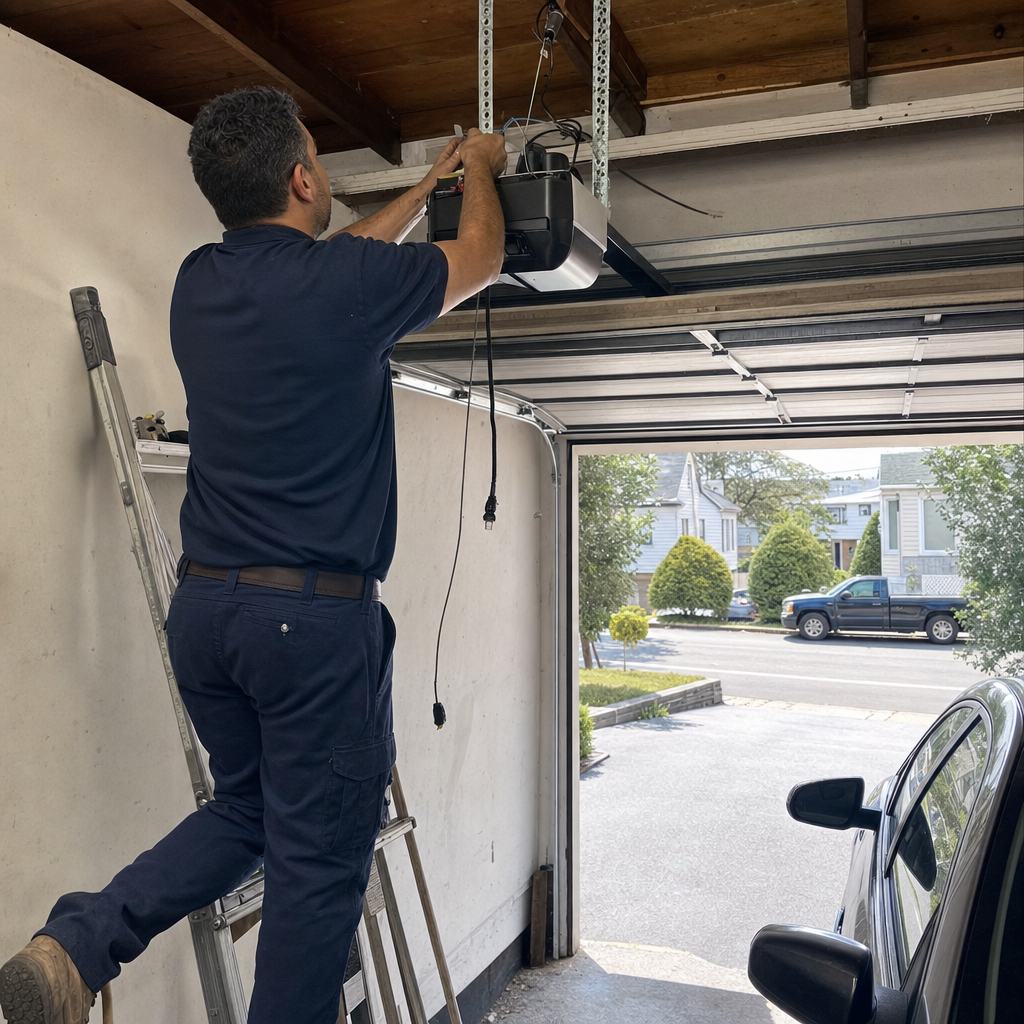
At Bluepeak Garage Door Repair Yonkers, Jeffrey Morgan and our team have programmed openers in nearly every attached home in Park Hill, Nodine Hill, and the broader southwest corridor — and we’ve walked just as many homeowners through it over the phone when the fix was simpler than a service call. Here’s what we’ve learned across two decades of working these specific systems in Yonkers’s unique housing stock.
Why Most Online Programming Guides Fail for Yonkers Homeowners
The number-one reason garage door programming fails isn’t user error — it’s that the guide someone found online is for a different brand than the opener on their ceiling. After 20 years working these Yonkers garages, we’ve programmed the Best Garage Door Opener in Yonkers, NY systems there is, and the differences are not trivial.
Consider this: a LiftMaster with a yellow Learn button runs on Security+ 2.0 at 868MHz, while a Genie Intellicode system uses an entirely different rolling-code protocol with a press-and-hold sequence that would never work on a Chamberlain. A Craftsman from the Sears era might be 315MHz; a newer Craftsman-badged unit could require an 893LM remote. Wayne Dalton’s OneControl system might as well be from another planet compared to standard dip-switch programming.
Then there’s the Yonkers-specific wrinkle. Our city’s dense blocks of 1910s–1940s attached brick homes — the kind you’ll find running from Getty Square up through Park Hill — share walls, electrical systems, and wireless congestion. Metal lath in older plaster walls, aluminum siding on post-war capes, and the sheer concentration of 2.4GHz and 900MHz devices in a three-block radius create interference patterns that suburban how-to videos never account for. We’ve seen remotes program perfectly at 6 a.m. and fail at 6 p.m. when the neighbors’ networks are fully loaded.
The fix is simple once you know it: during programming, hold the remote within 6 inches of the Learn button, not across the garage. The reduced distance overpowers ambient interference. We’ve confirmed this works on dozens of calls where the homeowner had already “tried everything.”
Brand-by-Brand Programming Reference for Yonkers Homes
Whatever brand is on your door, we know it. Here’s the sequence that actually works for the five systems we encounter most often in Yonkers’s older housing stock:
| Brand | Learn Button Color | Frequency/Protocol | Programming Steps |
|---|---|---|---|
| LiftMaster / Chamberlain | Yellow (Security+ 2.0), Purple, Red/Orange | 868MHz rolling code | Press and release Learn button; LED glows for 30 sec. Press remote button once. Light bulb flashes or clicks to confirm. |
| Genie | Program button (varies by model) | Intellicode / Intellicode 2 | Press and hold Program button until LED blinks blue. Press remote twice. Press Program button once to lock. |
| Craftsman | Green, Red/Orange, or Purple | 315MHz (older) or 893LM-compatible (newer) | Match remote model to opener age. Older: press Learn, press remote. Newer: may require 893LM with specific serial prefix. |
| Wayne Dalton | OneControl or standard | Proprietary or 372MHz | OneControl: press and hold wall control button until light flashes, then press remote. Standard: use Learn button sequence per model year. |
| Raynor | Varies (often purple or red) | Security+ compatible | Similar to LiftMaster but verify remote part number — Raynor-branded remotes often required for full feature access. |
A few critical details buried in that table:
- Security+ 2.0 vs. older fixed-code: LiftMaster and Chamberlain units with yellow Learn buttons use rolling-code encryption that changes the signal every use. Older units with dip switches use the same code permanently. If your “new” remote is actually NOS (new old stock) designed for dip-switch systems, it will never program to a Security+ 2.0 opener — and no amount of button-mashing fixes that.
- Intellicode 2 sequencing: Genie’s second-generation system requires that two-button press, not one. Homeowners who press once, see no response, and assume failure are 30 seconds from success.
- Craftsman model-year trap: Sears sold Craftsman openers for decades with three incompatible remote ecosystems. The model number on the motor head — not the remote in your hand — determines which replacement to buy.
We’ve replaced openers in Yonkers homes where the previous owner left a drawer full of “wrong” remotes, each purchased for a system that moved out in 2003. If I can’t explain what’s wrong in plain English, I haven’t figured it out yet.
Programming HomeLink in Your Vehicle — The Most-Asked Question We Get
HomeLink, the built-in garage remote in most vehicles manufactured since 2010, generates more programming confusion than any handheld remote — and the process is even more brand-specific than the opener itself.
For LiftMaster and Chamberlain with Security+ 2.0: Press and hold the two outer HomeLink buttons until the indicator flashes slowly (about 20 seconds). Then press and hold the HomeLink button you want to program while simultaneously pressing your handheld remote button. The indicator should flash rapidly. Finally, press the Learn button on the opener motor, return to your vehicle within 30 seconds, and press the programmed HomeLink button three times slowly.
For Genie Intellicode: The sequence differs. After clearing HomeLink with the two-button hold, press and hold the desired HomeLink button while pressing your Genie remote. The rapid flash confirms. Then — and this is where every generic guide fails — you must press the Genie program button on the motor head twice (not once) before finalizing with the HomeLink button press.
We’ve had Yonkers customers spend an hour on HomeLink before realizing their vehicle requires a HomeLink Compatibility Bridge for Security+ 2.0 — a $25 part that dealerships rarely mention. If your vehicle is 2012–2018 and the standard sequence fails, check for bridge compatibility before assuming the opener is faulty.
When Programming Fails: The Yonkers-Specific Troubleshooting Checklist
Before you call, run through the sequence we’ve refined from roughly 200 programming-related service calls in the last five years alone:
- Verify brand and model year. The sticker on the motor head — usually near the light bulb — contains the model number that determines everything else.
- Check remote compatibility. A remote for a 2005 Genie will not program to a 2022 Genie Intellicode 2. The part number matters.
- Eliminate interference. Turn off Wi-Fi extenders, baby monitors, or wireless security cameras temporarily. In Yonkers’s attached homes, these share the 900MHz band with many opener systems.
- Use proximity. Hold the remote within 6 inches of the Learn button during programming, especially in metal-framed or masonry garages common in pre-war Yonkers construction.
- Count flashes and beeps. Most openers provide audible or visual confirmation codes. One flash = success. Two flashes = rolling code not accepted. Five flashes = memory full (erase old remotes first).
- Replace the remote battery. We’ve seen weak batteries allow “test” signals that never complete the pairing handshake. Fresh CR2032 or A23 — match your remote’s spec.
Here’s where Jeffrey Morgan’s direct involvement matters: if you’ve tried three times and it still won’t pair, call us at (833) 892-8769. We’re not going to charge you for a programming visit if we can walk you through it on the phone in two minutes. We’ve done it enough times that we can usually diagnose the hang-up from the symptom description alone. The owner answers the call and often makes the repair — that’s the accountability you get with Bluepeak, not a dispatcher reading from a script.
What Programming Problems Actually Cost to Fix in Yonkers
Most programming issues require no parts at all — just the right sequence and a working remote. When components are needed, here’s what we charge in the Yonkers market:
| Service | Typical Range | When Needed |
|---|---|---|
| Remote programming (phone walkthrough) | Free | Brand mismatch or sequence error |
| Remote programming (on-site) | $120–$320 (Opener Repair range) | Interference diagnosis, memory reset, or multiple remotes |
| Replacement remote (standard) | $30–$75 part + programming | Lost, damaged, or incompatible remote |
| HomeLink Compatibility Bridge | $25–$40 part + programming | Vehicle requires bridge for Security+ 2.0 |
| Opener replacement (if motor head failed) | $250–$550 (Opener Installation range) | Receiver board failure, obsolete frequency |
Two decades of garage doors — not two years and a van — means we’ve seen receivers fail from Hudson River humidity corrosion, circuit boards damaged by voltage spikes in older Yonkers electrical systems, and the occasional opener simply too obsolete to find a compatible remote. When replacement is genuinely needed, we’ll tell you straight. When it’s a two-minute reprogramming, we’ll tell you that too.
Common Local Scenarios: Programming in Yonkers’s Actual Garages
Every February, we get a wave of calls from Park Hill and Nodine Hill homeowners who forced their door up while the bottom seal had frozen to the sloped concrete apron — shearing the weatherstrip or stripping the opener’s drive gear. The door “works” but the opener’s force settings are now misaligned, and the programming sequence behaves erratically because the motor thinks it’s hitting an obstruction.
In the northeast Yonkers cape cods and colonials, we find Wayne Dalton openers from the 1990s still running strong — but their proprietary remotes are discontinued. Programming a universal remote to these requires a specific frequency converter that big-box stores don’t stock.
The 7-foot-wide garage openings in Getty Square’s attached brick homes create another wrinkle: many homeowners installed mini-openers with non-standard rail lengths. When the original remote fails, the replacement must match not just the brand but the rail configuration — a detail no generic guide captures.
When your door won’t open at 7 a.m., that’s exactly when we’re built to help. Emergency Garage Door Opener in Yonkers, NY isn’t an afterthought for us; it’s how we’ve operated since day one.
FAQs
Remote programming typically falls within our $120–$320 opener repair range if we come to you, but we often solve it free over the phone. Call (833) 892-8769 for an exact quote — estimates are free, and we’ll walk you through the sequence first if we can.
The most common cause is a frequency or protocol mismatch — newer remotes use rolling-code systems (Security+ 2.0, Intellicode 2) that older openers cannot recognize. Check your opener’s model number on the motor head sticker; if it’s pre-2010, you likely need a specifically compatible remote, not the current retail model.
Yes — emergency garage door service is a core offering at Bluepeak, and programming issues often qualify for same-day response. Jeffrey Morgan, our Owner and Lead Technician, handles urgent calls directly. Nearly 900 homeowners reviewed us at 4.8 stars, and same-day availability is part of why.
Programming and remote issues almost always favor repair — often zero parts, just the correct sequence. If the receiver board has failed or the opener is pre-1995 with no compatible remotes available, Garage Door Opener Installation in Yonkers, NY at $250–$550 becomes the practical choice. We’ll assess honestly which path makes sense for your specific unit.
When to Call Bluepeak Garage Door Repair Yonkers
If you’d rather have it looked at, Bluepeak Garage Door Repair Yonkers offers a no-pressure assessment in Yonkers — call (833) 892-8769. Whether it’s a programming sequence you can’t crack, a remote you can’t source, or an opener that’s simply reached the end of its run, Jeffrey Morgan and our team will give you a straight answer and a fair price. No franchise dispatcher, no mystery technician — the owner answers the call and often makes the repair.
Written by Jeffrey Morgan, Owner & Lead Technician at Bluepeak Garage Door Repair Yonkers, serving Yonkers, NY.